Starting with Photoshop CS6, and continuing with Photoshop CC, the behavior has changed for an image that is dragged and dropped into an existing Photoshop document.
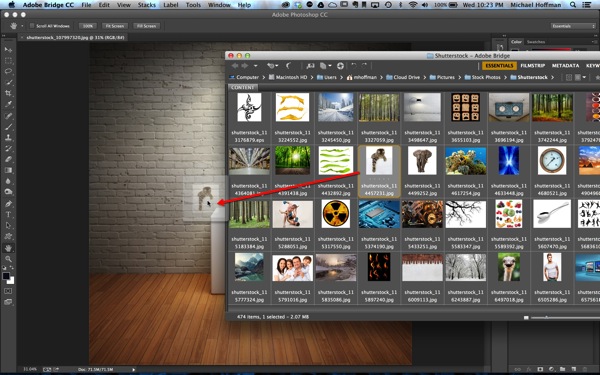
For example, with Bridge or Finder open in a floating window (or File Explorer on Windows), we can drag an image onto an open Photoshop document, and the image is placed on a new layer above the currently selected layer:
When we do, Photoshop comes to the front, and our newly placed image is ready for resizing and positioning. In fact, we have the standard Free Transform controls available at this point. Once we have sized and positioned the image appropriately, we click the checkmark in the toolbar to commit the transform:
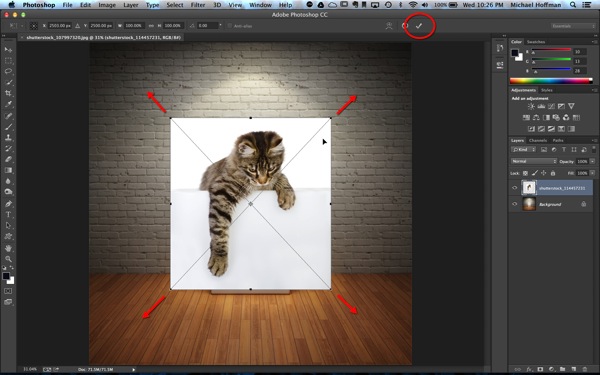
With the new layer placed, however, we can see in the layers panel that the new layer is a Smart Object. This may or may not be what we wanted:

As it turns out, this is a new behavior that was introduced in CS6, but you can control and change this with Photoshop’s preferences. Simply go to Photoshop > Preferences > General (Mac) or Edit > Preferences > General (Windows) and you’ll see a new option:
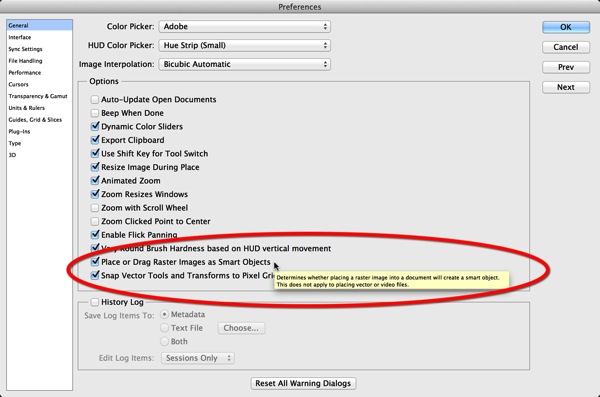
“Place or Drag Raster Images as Smart Objects” was introduced in CS6, and it is on by default. With this option checked, any time we drag a JPG, TIFF, or other raster file into our document, it will be placed as a smart object. If we deselect this option, we will revert to the old behavior – raster images are placed or dragged as regular layers.
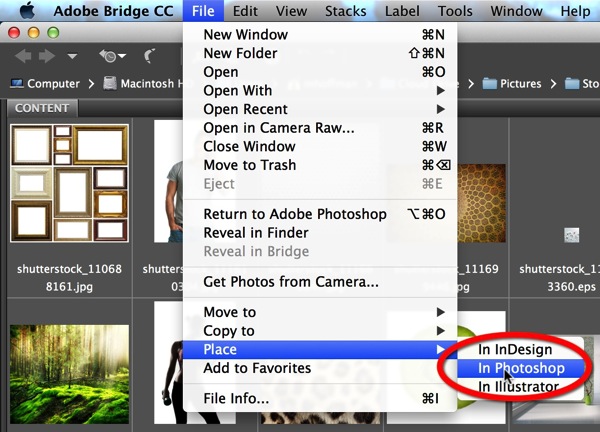
Note that this affects images placed from Bridge using the File > Place > In Photoshop command as well:
Keep in mind that this applies only to raster images – vector files and video are not affected by this option.