Add Multiple Strokes in Photoshop CC
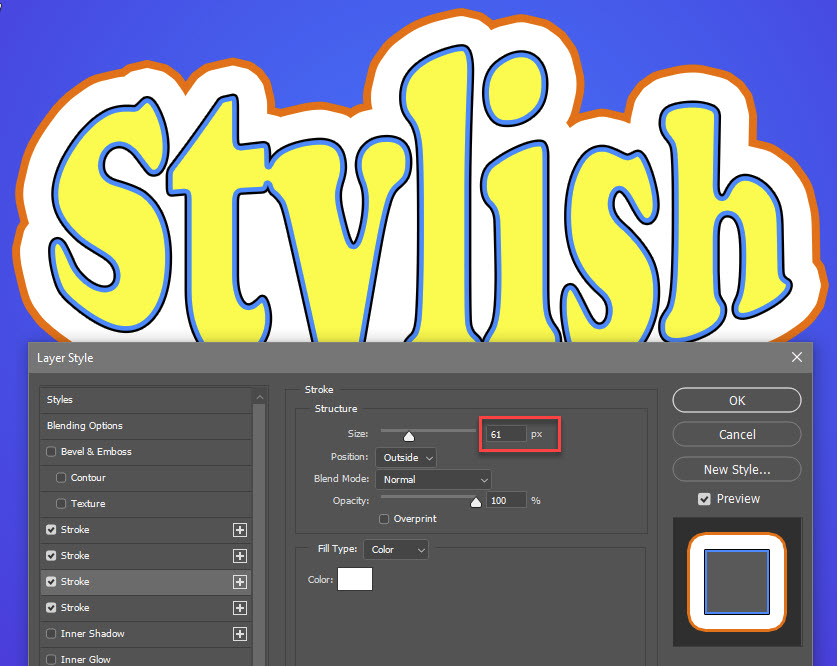
Adding a stroke to a layer is pretty straightforward in Photoshop. The capability has been around for a long time. But did you know that it's now very easy to…
Adding a stroke to a layer is pretty straightforward in Photoshop. The capability has been around for a long time. But did you know that it's now very easy to…